

One of the most exciting aspects of our frame mounted camper is the additional storage we gain. By removing the truck bed and adding a lightweight aluminum frame, we have no bed rails to take up space. Storage boxes will fill that space.


If you are confused at this point, just click here and go back to the post that includes photos of how AT Overland built the frame for the chassis. After it was built, the camper was mounted firmly to the aluminum frame using 11 different attachment points. Here is more info on that process- click here. The boxes were made to bolt perfectly along the edge of the aluminum frame. 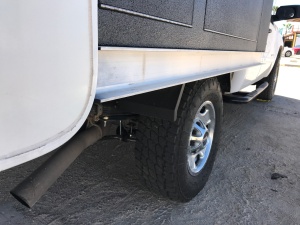


Once the boxes were fully assembled they were ready to be placed. They slid into the openings under the camper, along each side. This space is normally taken up be the bed rails of a truck. 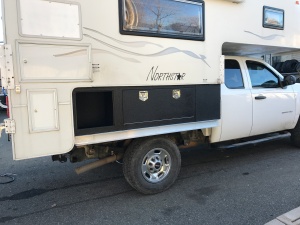


The boxes are three different sizes. Some have a specific storage purpose such as the batteries and the drinking water. I will explain each of those systems in a detailed post later. But four of the boxes are simply for storage. The center boxes are longer, for bigger items. At 45 inches long, we can even fit our inflatable stand-up paddle board and paddle in there! (opening of 41 inches)
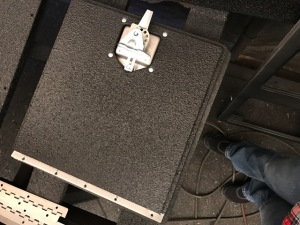
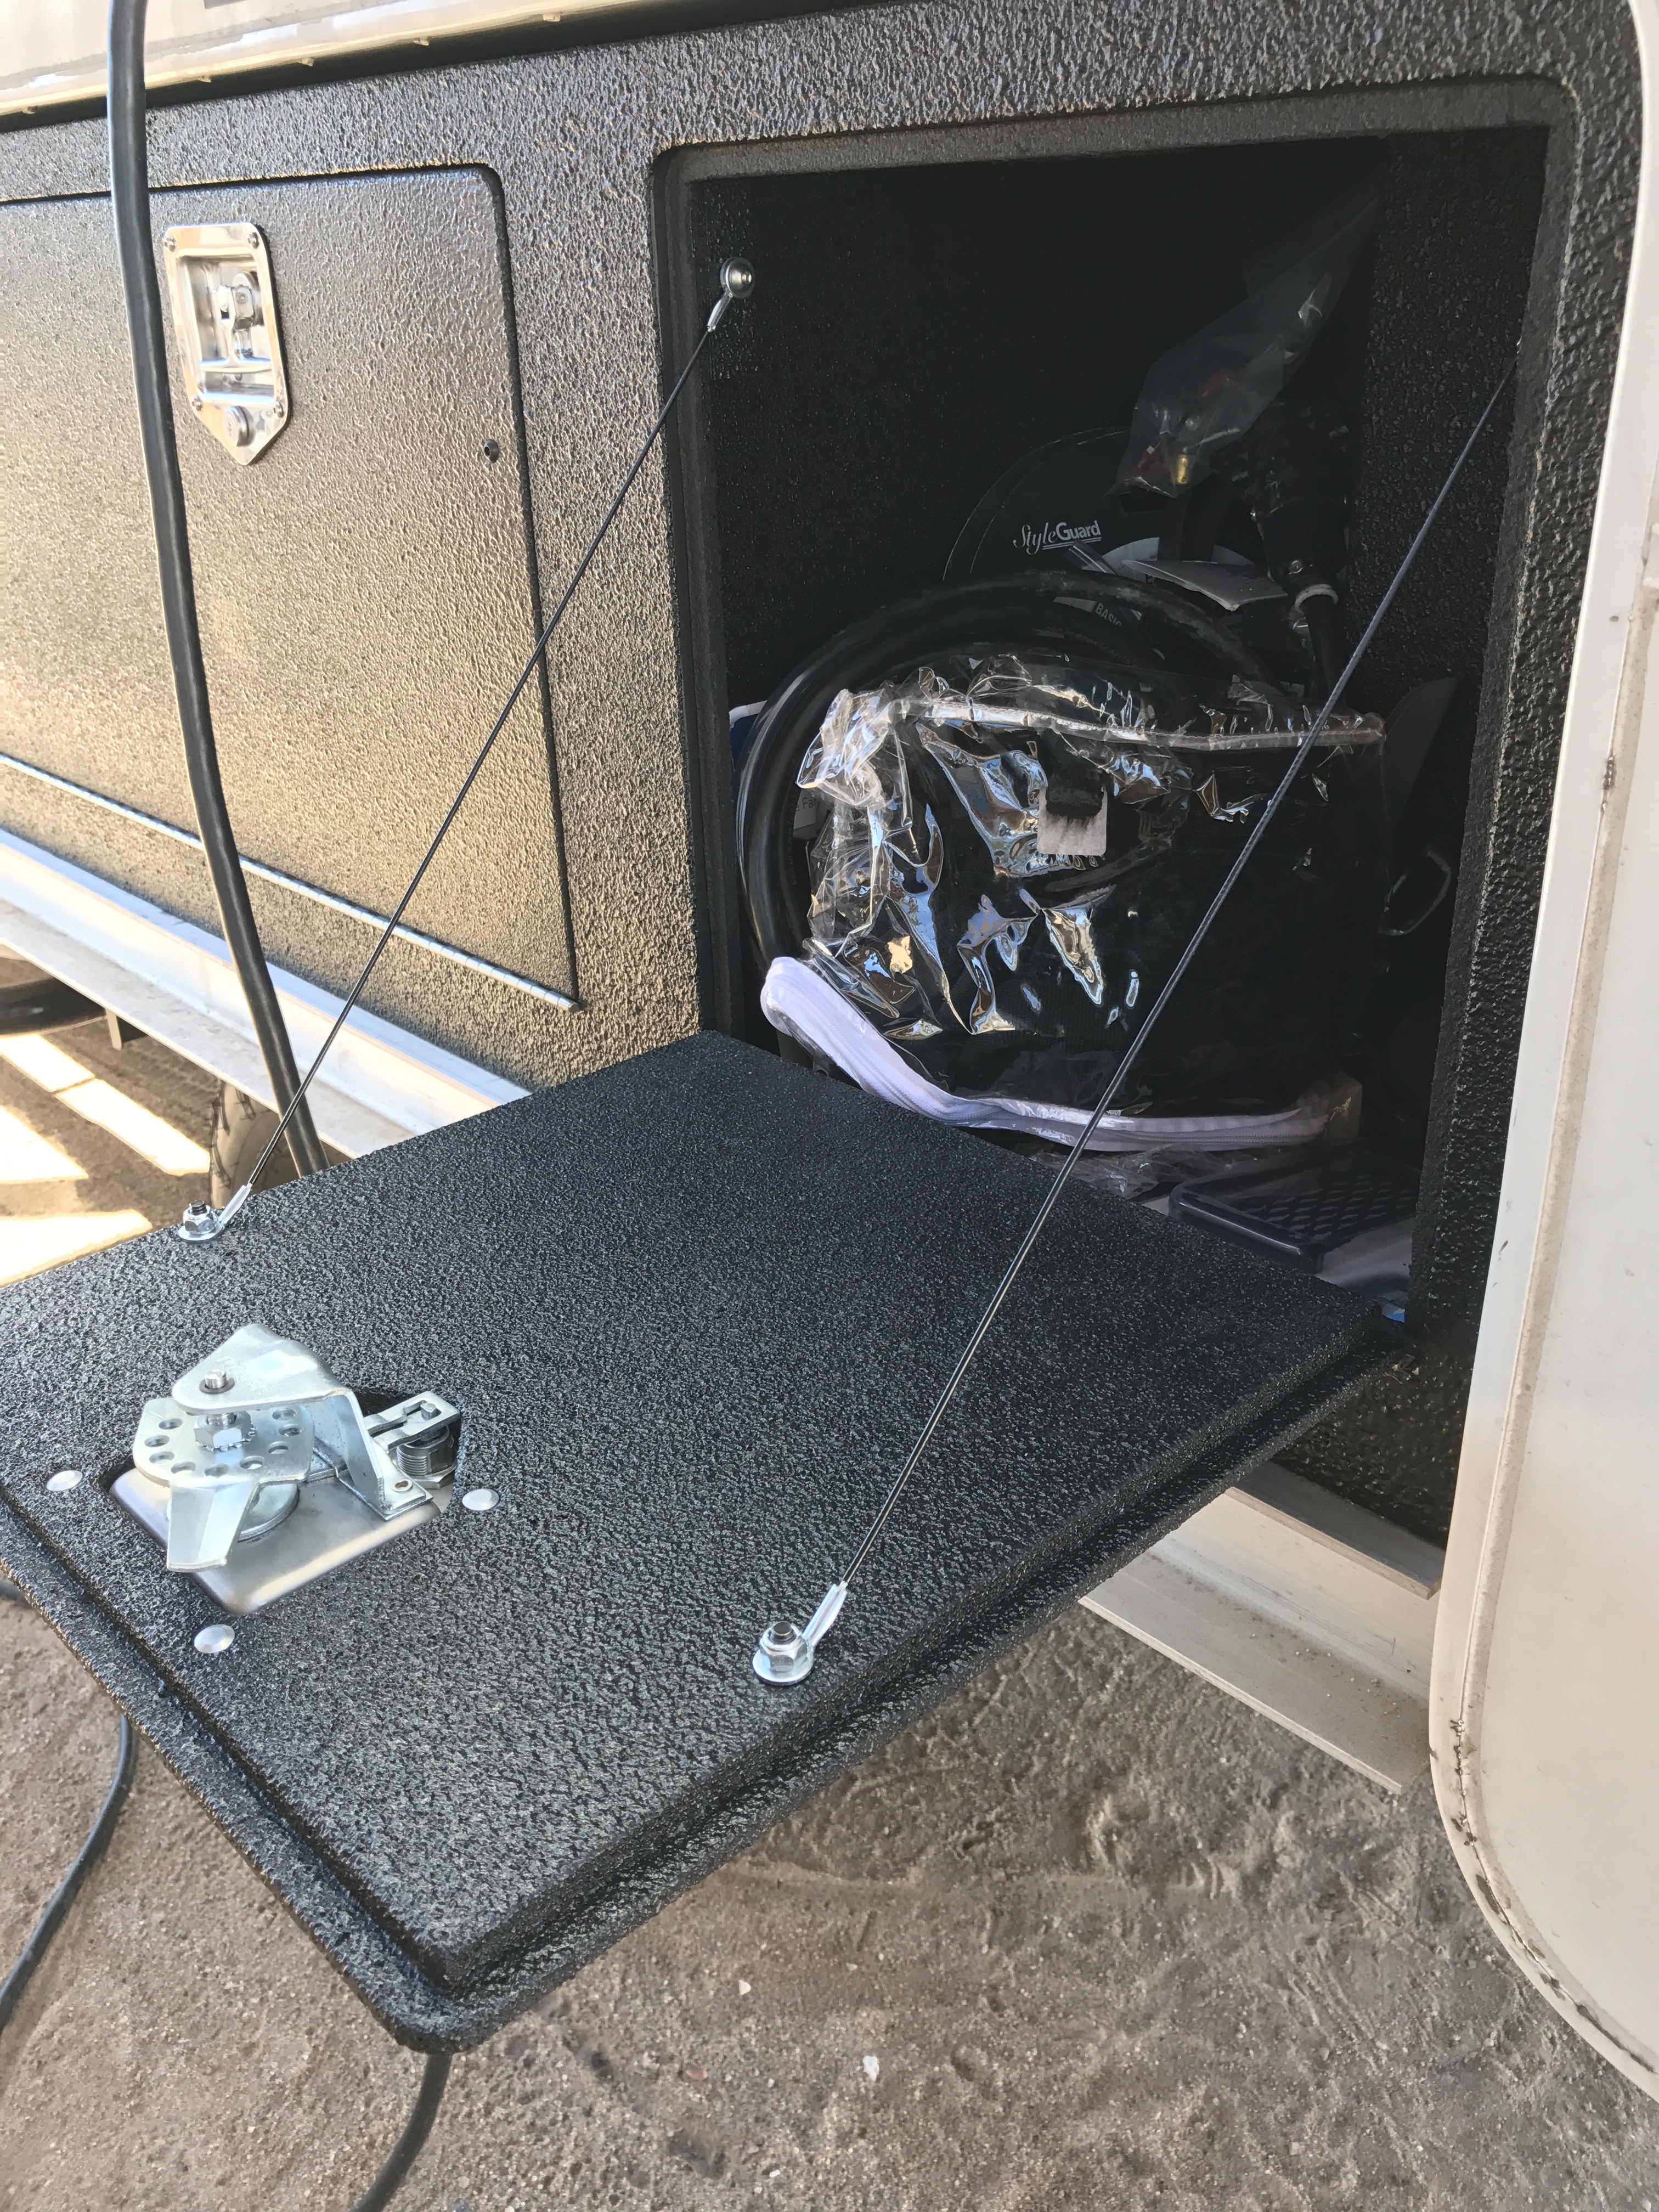
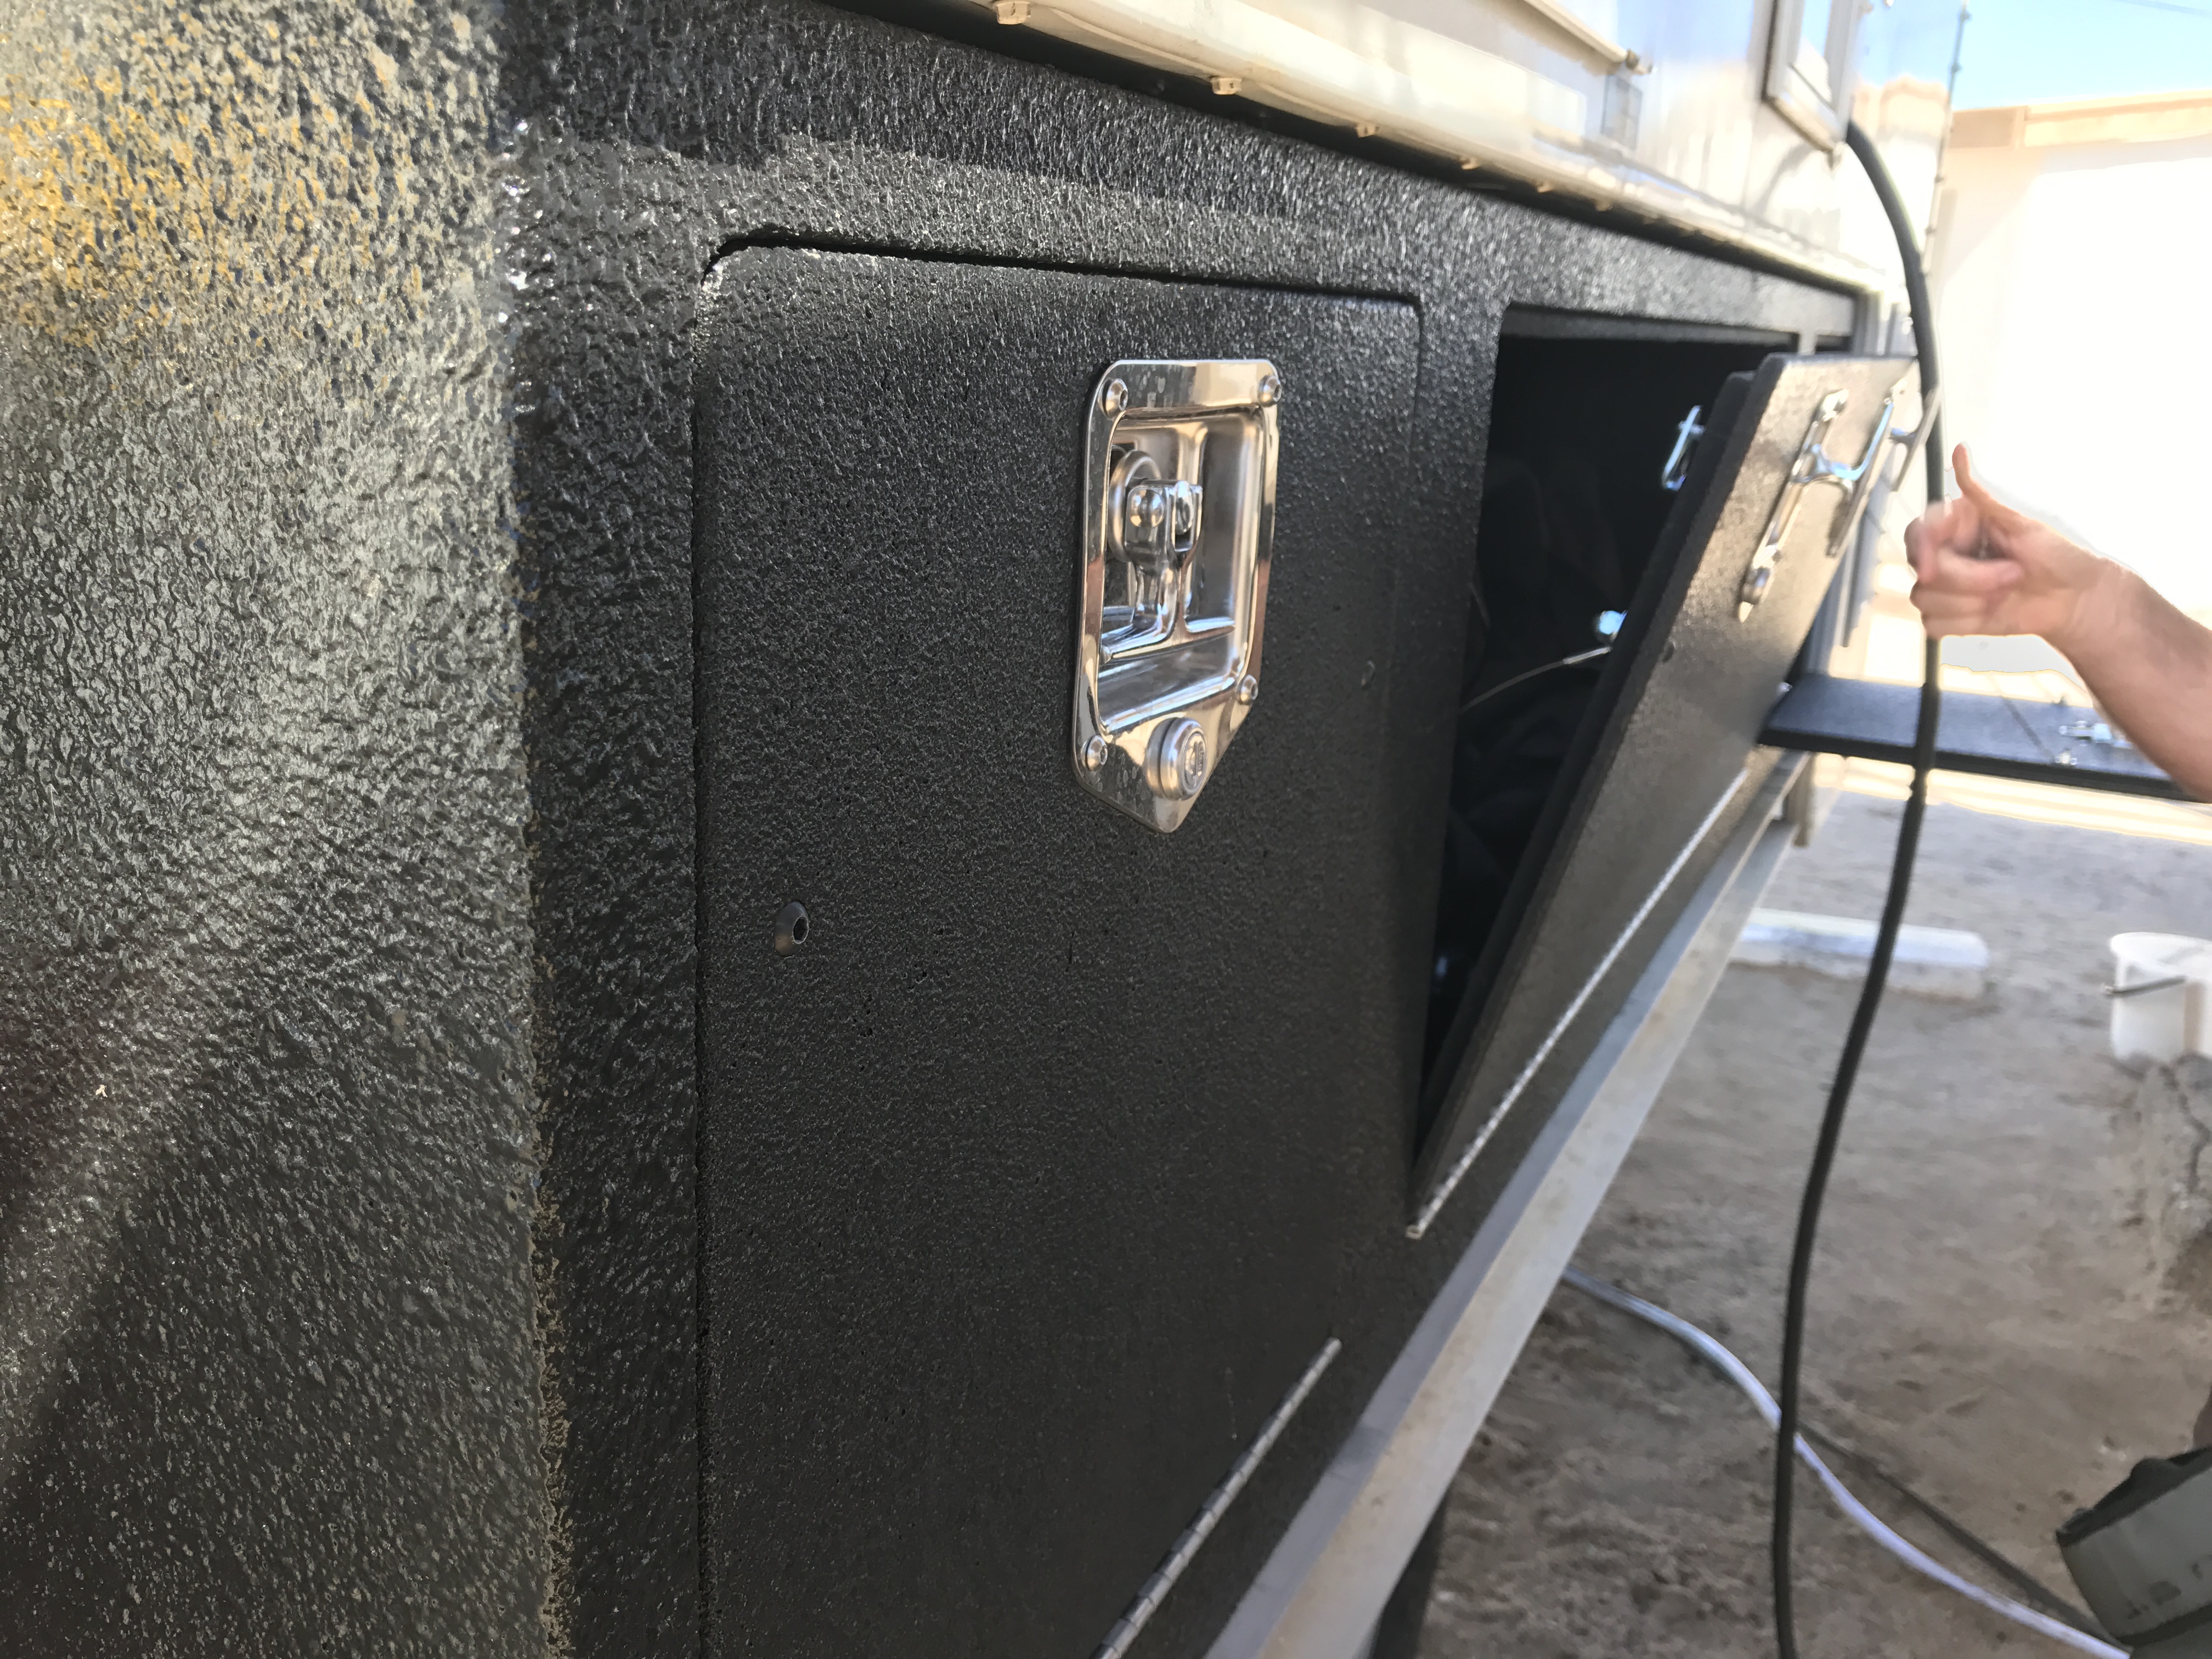
The doors open outward and are suspended by two strong cables. This will allow each door to function as a table. This will hold a BBQ grill and also the tools for todays projects. When finished, the doors can lock independently and secure the items inside.
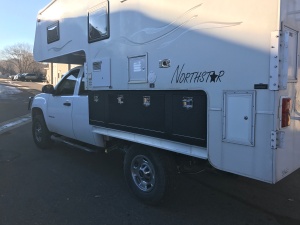
Here are a few additional photos of the boxes, in use by Mike.


In addition to the side boxes for storage (they’re yuge) we added a storage box in the back seat. Watch for the next blog post to learn how we removed the back seat, added a lot of storage and made that work for us!
Special thanks to the folks at AT Overland for their work on this rig! Click here to see their website and learn about some of the products they have available. AT Overland
Sign up here to follow our stories! You can also follow us on Instagram and Facebook if you are interested. Feel free to share this post with your friends. And as always, write us a note if you have questions or comments!