If you are a regular reader of this blog, you may recall that we had some damage to our previous front end paint. A spare fuel jug on the roof top sprung a leak and ran down the front of the van. The gas caused peeling, melting and general ugliness to the paint. Here is a link to the blog post Rotopax leak causes damage
Since then we have been meaning to fix the mess. Here are a few photos of our work at finally stripping off the remaining plasti-dip and reapplying a coat of black plasti-dip and color match paint.
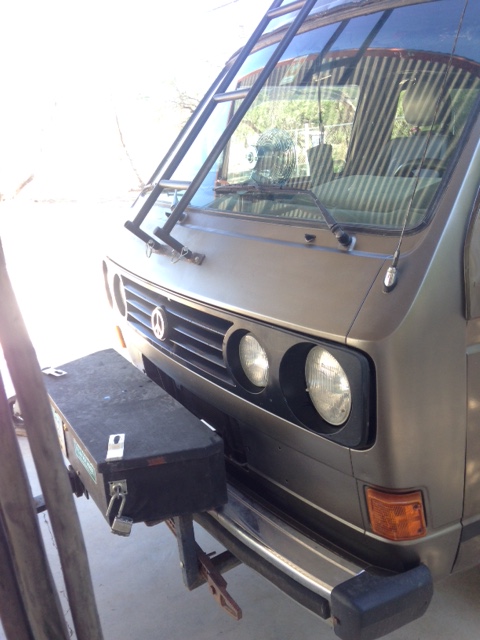
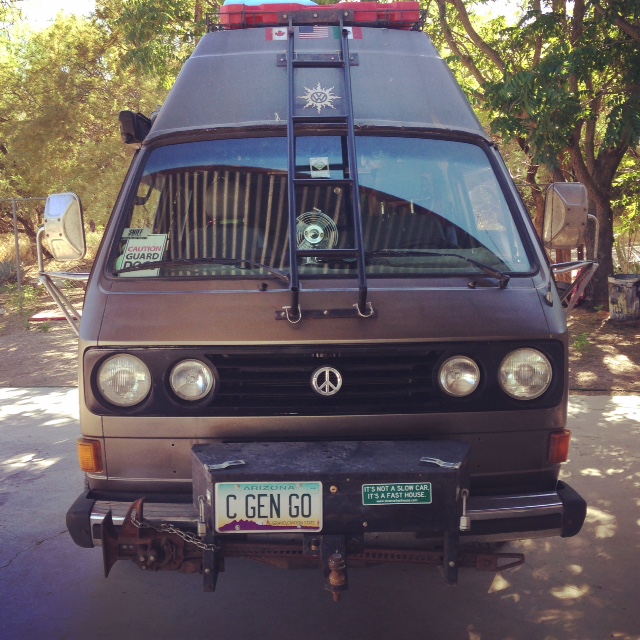
First we had to strip off all the old plasti-dip. We used a paint stripper product and wiped it off before it cut through the factory paint. We got it cleaned down the the original paint and sun fading. It also removed all bugs. We sanded and smoothed any chips or dings.We sprayed three layers of black plasti-dip. Waiting about 30 minutes between each coat helped it go on smoother. This has a satiny, smooth finish which could have been left at this point.We wanted a finished look. So we sprayed the front again with two coats of rattle can color match paint. It doesn’t look exactly the same as the body (less shiny) but it looks pretty darn close! This is the front end after 3 coats of plasti-dip and 2 coats of color match. Now I guess we need to paint the whole van- NOT!!!The ladder is back in place, the grill and trim is back on and the van looks so much nicer than it did with streaky, peeling paint. We hope this plasti-dip coating will help prevent rock dings and chips in the front end.